
Whisperwind Haven Treasure Spots: A Rover's Guide to Rinascita's Hidden Loot
Find all Whisperwind Haven Treasure Spots in Wuthering Waves to farm Astrite and chests with this concise location guide.
The wind howled through Whisperwind Haven, carrying whispers of Astrite and forgotten chests. For any Rover worth their salt, a treasure hunt is irresistible—especially when Rinascita's newest region hides five Treasure Spots packed with loot. Our protagonist, a seasoned adventurer with a scanner in one hand and a map in the other, set out to uncover every last chest. Here's the tale of their journey, and the locations you'll need to follow in their footsteps.
Treasure Spots are dedicated areas with multiple chests, and they're a godsend for farming Astrite and pushing exploration progress. With five spots scattered across Whisperwind Haven, there's no shortage of shiny rewards. So grab your Resonance Beacon, fire up that scanner, and let's get this show on the road. 🗺️💰
All Whisperwind Haven Treasure Spot Locations
| Spot | Chests | Nearest Beacon |
|---|---|---|
| Silver Moon Grove | 4 | Resonance Beacon on the island |
| Polyphemos Windmills 1 | 4 | North Resonance Beacon in a small town |
| Polyphemos Windmills 2 | 4 | South Resonance Beacon above Mistveil Bay |
| Egla Town 1 | 5 | Resonance Beacon next to Egla Town, head west to circus tents |
| Egla Town 2 | 4 | Resonance Beacon, north side past The Fratelli Brothers' challenge |
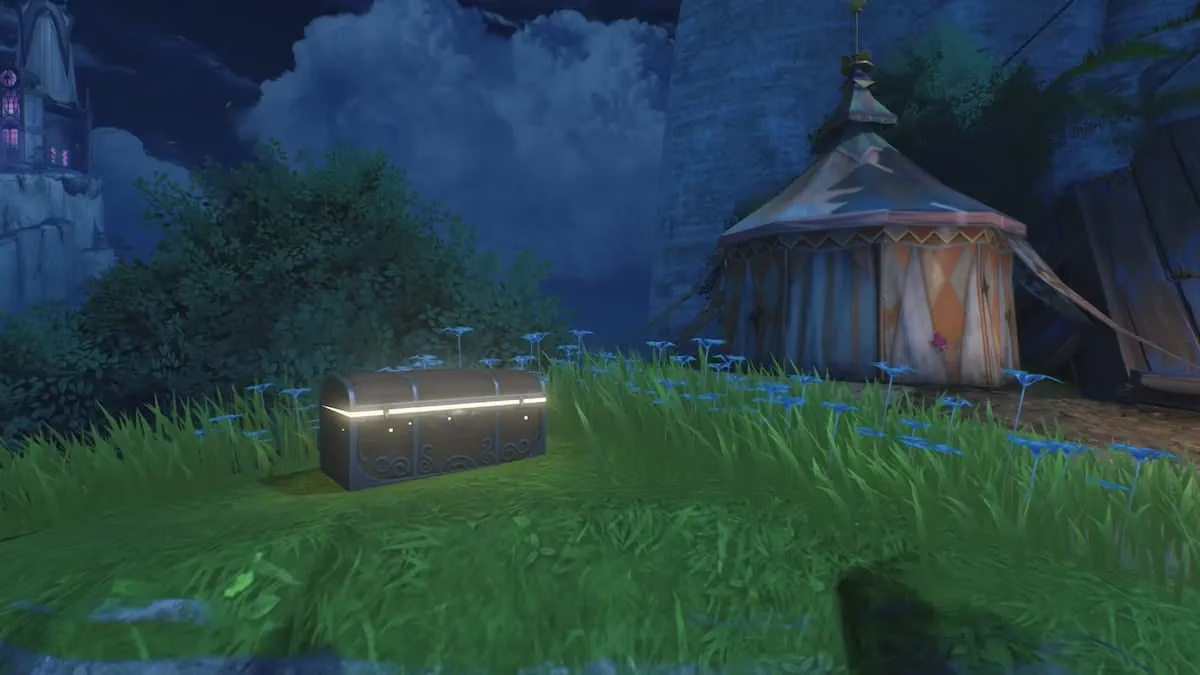
Silver Moon Grove: An Isolated Island of Plunder
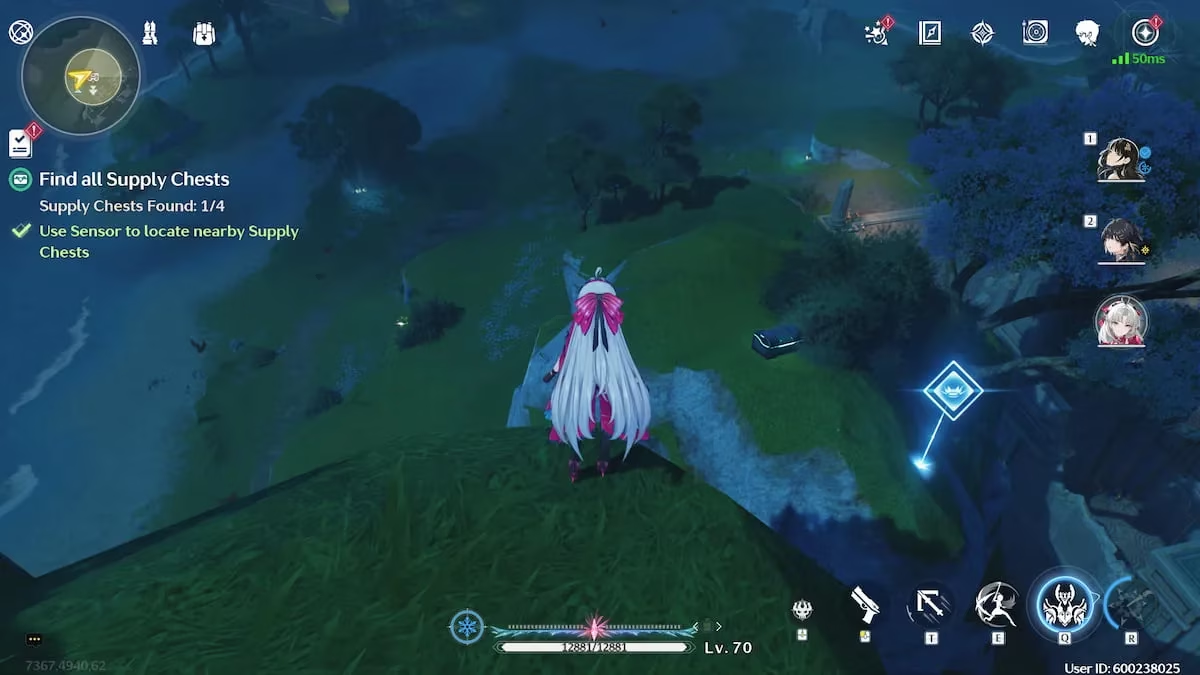
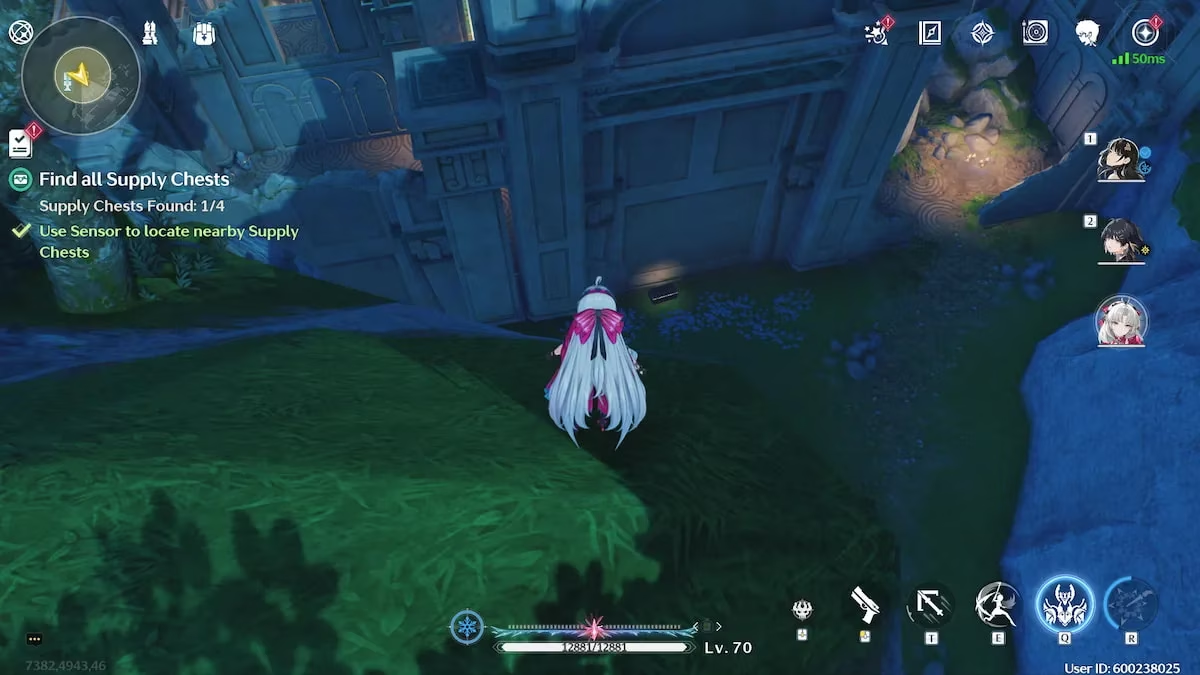
First stop: Silver Moon Grove, an isolated island north of the main Whisperwind Haven area. It's still part of the region, but you'll need to unlock its own Resonance Nexus before you can teleport in. Our adventurer did just that, and the Treasure Spot sat right at the Resonance Beacon—no fuss, no muss. Four chests were scattered around, each with its own little puzzle. One was tucked behind a rock, another glowed faintly in the dark (thank you, scanner), a third nestled among ore deposits, and the last one was hiding in plain sight. A Dream Patrol challenge nearby added a bit of extra spice, but our hero dispatched it with a grin. Easy peasy. 😎
Polyphemos Windmills 1: Small Town, Big Loot
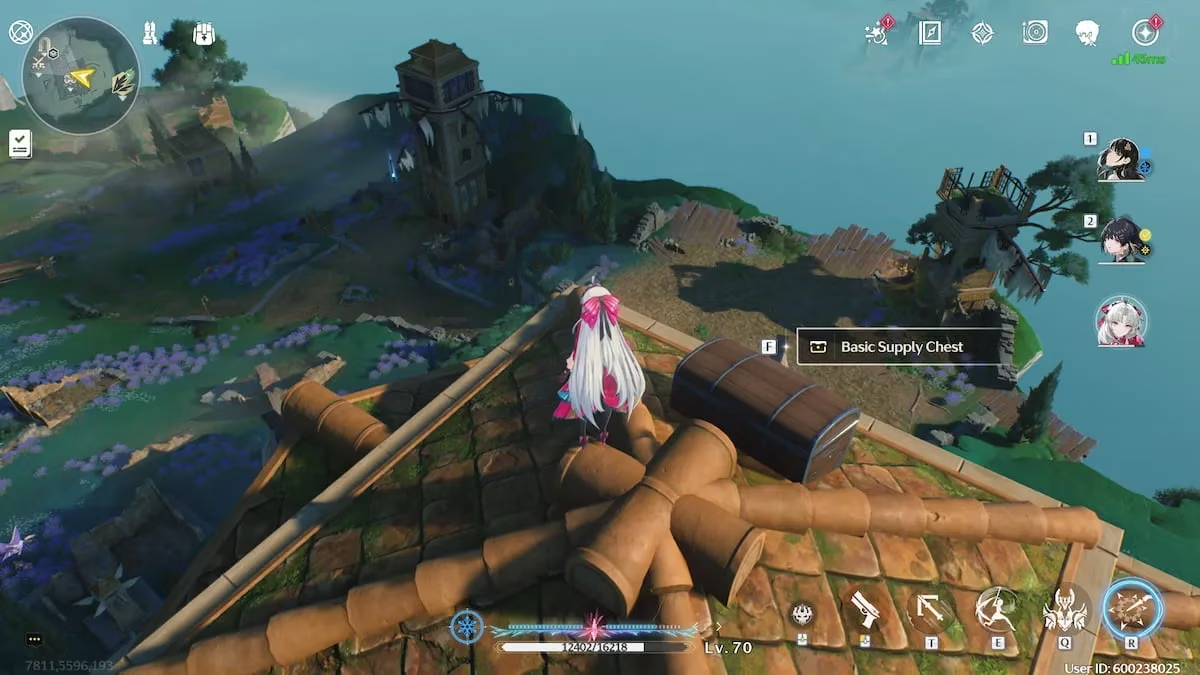
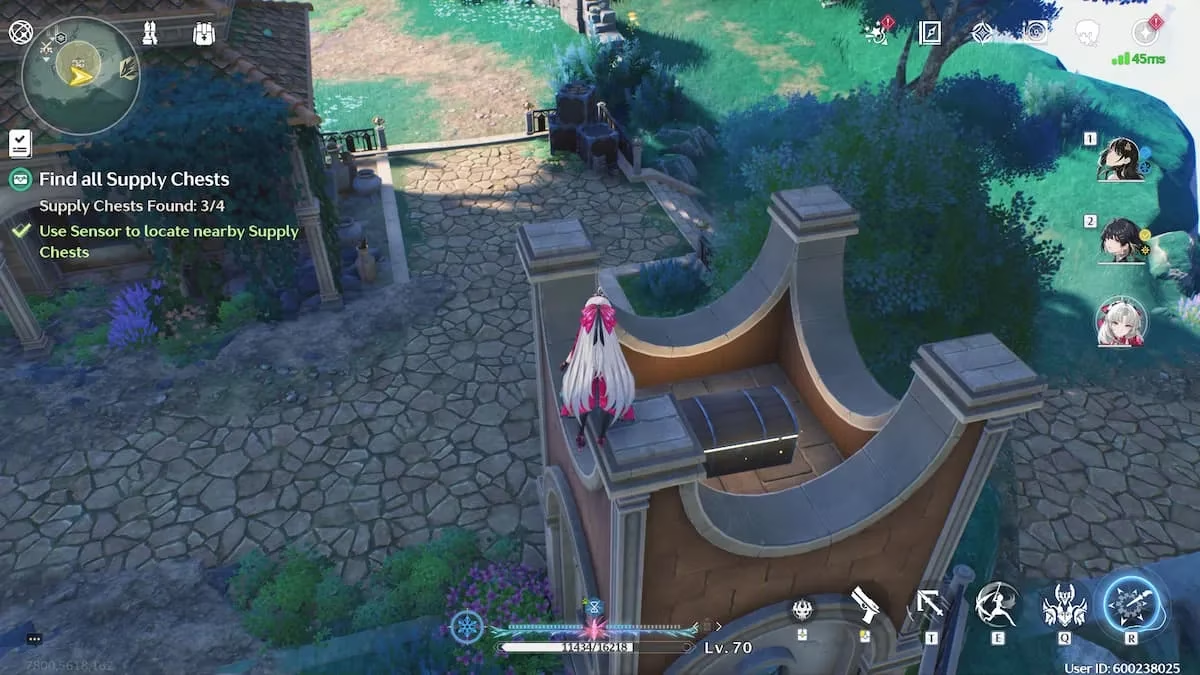
Next up was the northern part of Polyphemos Windmills. The closest Treasure Spot sits next to the north Resonance Beacon in a small town. Our Rover teleported in, cracked their knuckles, and started scanning. Four chests awaited, and nearby Echoes provided a bit of target practice. One chest perched high on a rooftop ("I can see my house from here!"), another was tucked behind a building, a third sat at the base of a baby tower, and the fourth was right on a small hill. The whole area was a breeze—just watch out for those wandering mobs. ⚔️
Polyphemos Windmills 2: South of the Previous Spot
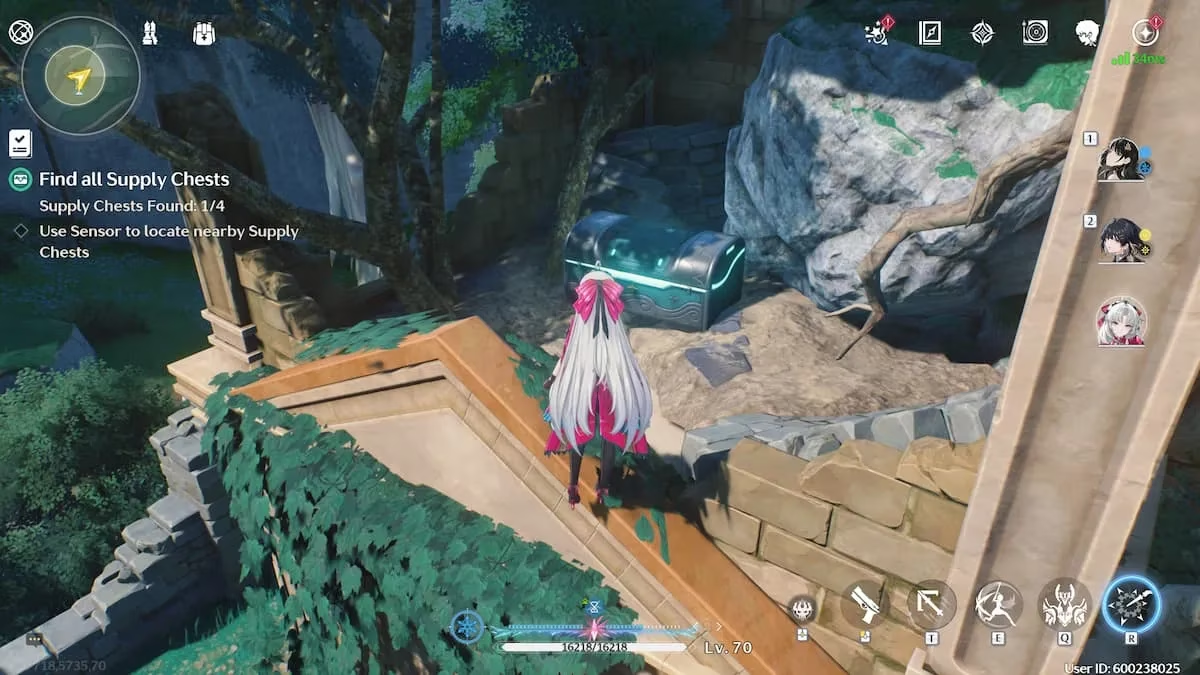
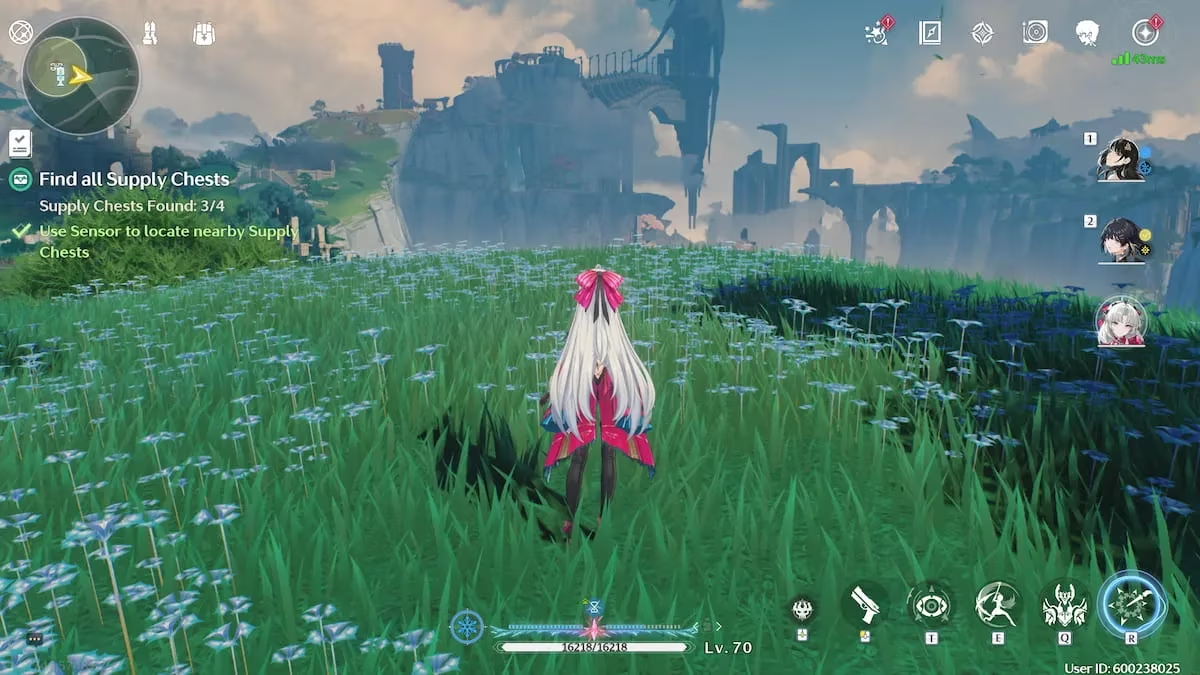
Just a little south of the first Windmills spot, another Treasure Spot beckoned. Our adventurer used the Resonance Beacon to the south—right above the Mistveil Bay name tag—and got straight to business. Four chests here: one pair was practically begging to be opened together ("two in one"), another was a familiar sight, a third required a bit of climbing, and the last was guarded by a few monsters who didn't live long enough to regret it. The whole detour took maybe ten minutes, and the Astrite haul was worth every second. 🎁
Egla Town 1: Circus Tents and Five Chests
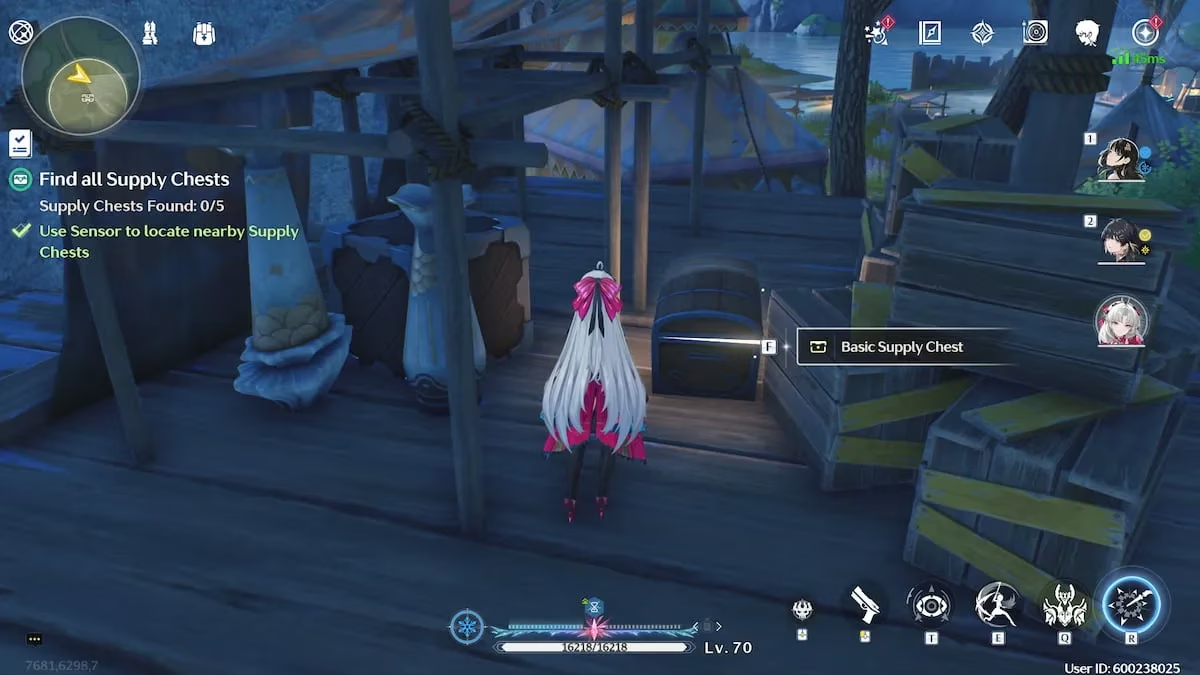
The last two Treasure Spots cluster near Egla Town on the south side. Our hero started with the one south of town in a small camp. Using the Resonance Beacon next to Egla Town, they headed west until circus tents—similar to the Troupe of Fools' setup—came into view. This spot boasted five chests, the most of any location. One was hidden behind breakable boxes, another lurked in a darker corner, a third required walking up the stairs on the right, and the last two were visible from the same vantage point. It was like a piñata had exploded. 🎪
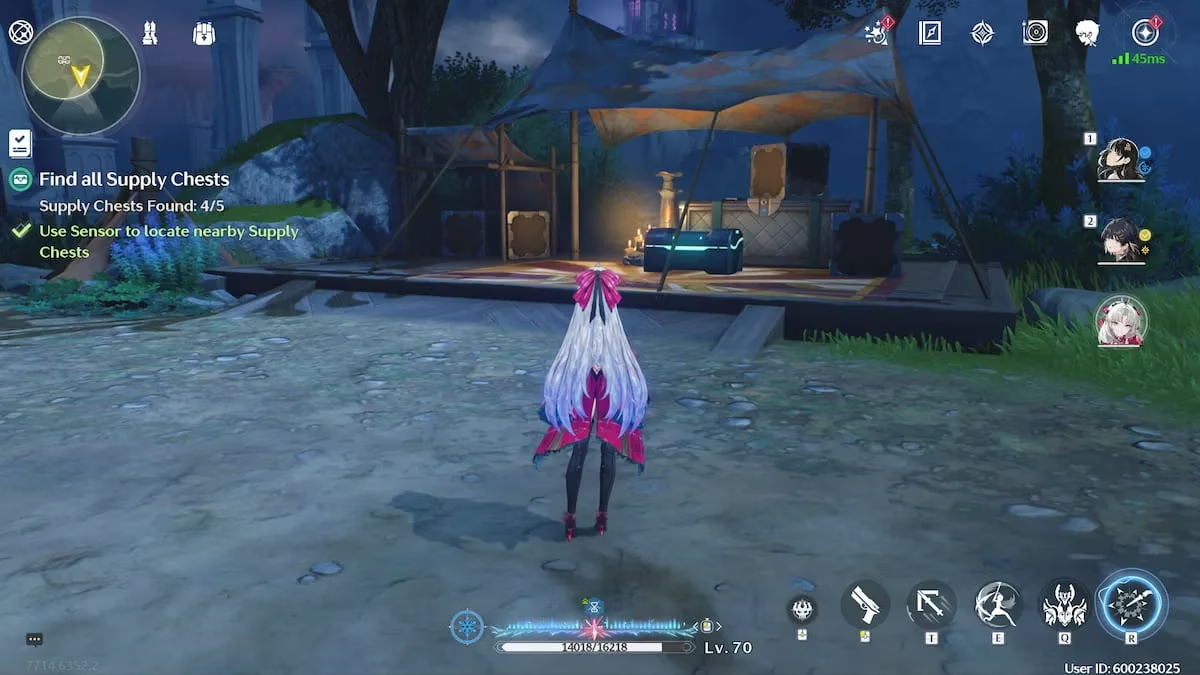
Egla Town 2: The Final Hurrah
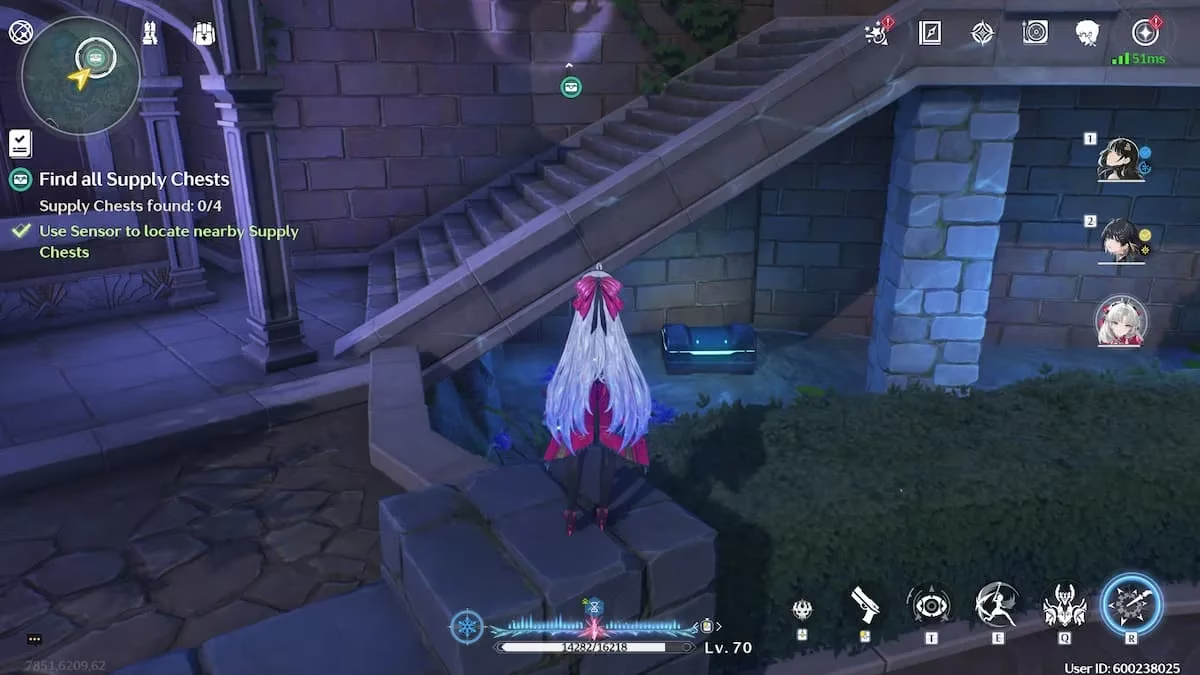
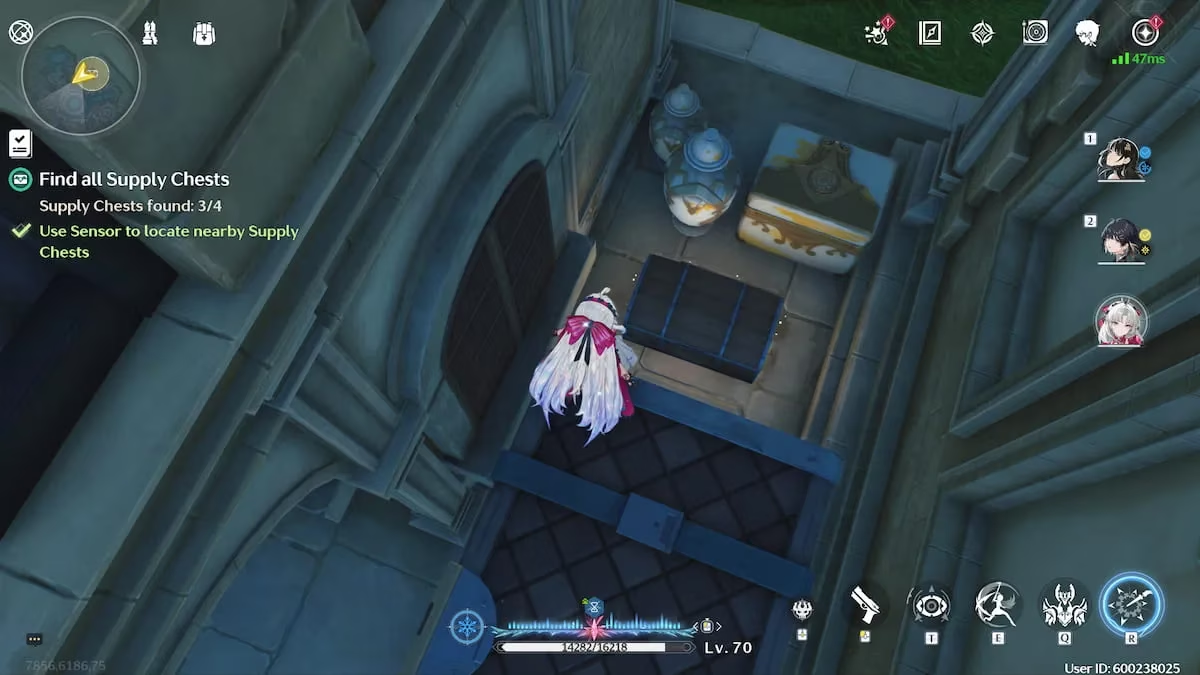
The final Treasure Spot was in Egla Town itself. Our adventurer used the Resonance Beacon and headed to the north side of town, past The Fratelli Brothers' challenge. A word of warning: don't go too far, because the first few chests are actually outside the general search area on the map. Four chests awaited—one near the water ("the loot might be wet"), one enjoying the view, one that was business as usual, and one hiding in a sneaky spot. After that, it was a wrap. Our Rover walked away with a full coin purse and a satisfied smirk. 🏆
Final Thoughts
Even in 2026, these Treasure Spots remain a fantastic way to stockpile Astrite and complete your Rinascita exploration. The scanner is your best friend, the Resonance Beacons are your fast-travel lifeline, and a little patience goes a long way. So whether you're a fresh-faced Rover or a grizzled veteran, grab a friend (or go solo—no judgment), and hit up Whisperwind Haven. The chests won't open themselves. 😉
Comments