
Wuthering Waves: Lost History Lighthouse Quest Guide for 2026
Wuthering Waves Lost History quest guide: Repair Huanglong lighthouse puzzles, claim hidden chests, and solve unique exploration challenges.
Let me tell you about the time the Historian in Jinzhou handed me the Lost History quest and then basically vanished into the crowd. In 2026, this Huanglong lighthouse chain is still one of my favorite exploration puzzles in Wuthering Waves. The catch? He does not mark a single lighthouse on your map. Finding them without hints felt like assembling a ship inside a bottle while the bottle was already sailing. So I did the only sensible thing: I grabbed my Sensor, my Explosive Charges, and a lot of patience. Here is how I repaired all five lighthouses and claimed every hidden chest.
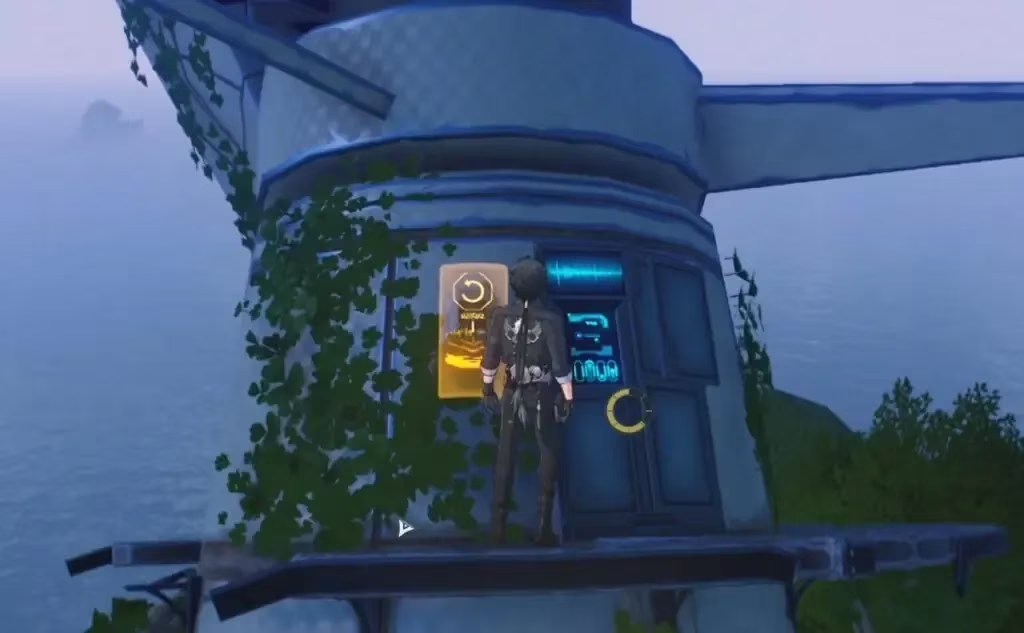
Step 1: Start at Camp Overwatch and Repair the First Lighthouse
First, head to Camp Overwatch and start the 'Repair the Lighthouse in Desorock Highland' quest. You will need to protect the Junior Engineer while he walks to the lighthouse. Defeat every enemy that jumps you. Once he is safe, interact with the lighthouse and hack it by solving the Signals Console puzzle. This gives you a coordinate for a hidden treasure chest. The chest is right beside the Dewvetch. If you already picked that flower, check the map above and investigate the ground. I missed the flower the first time and spent ten minutes looking at grass, which is a very gamer thing to do.
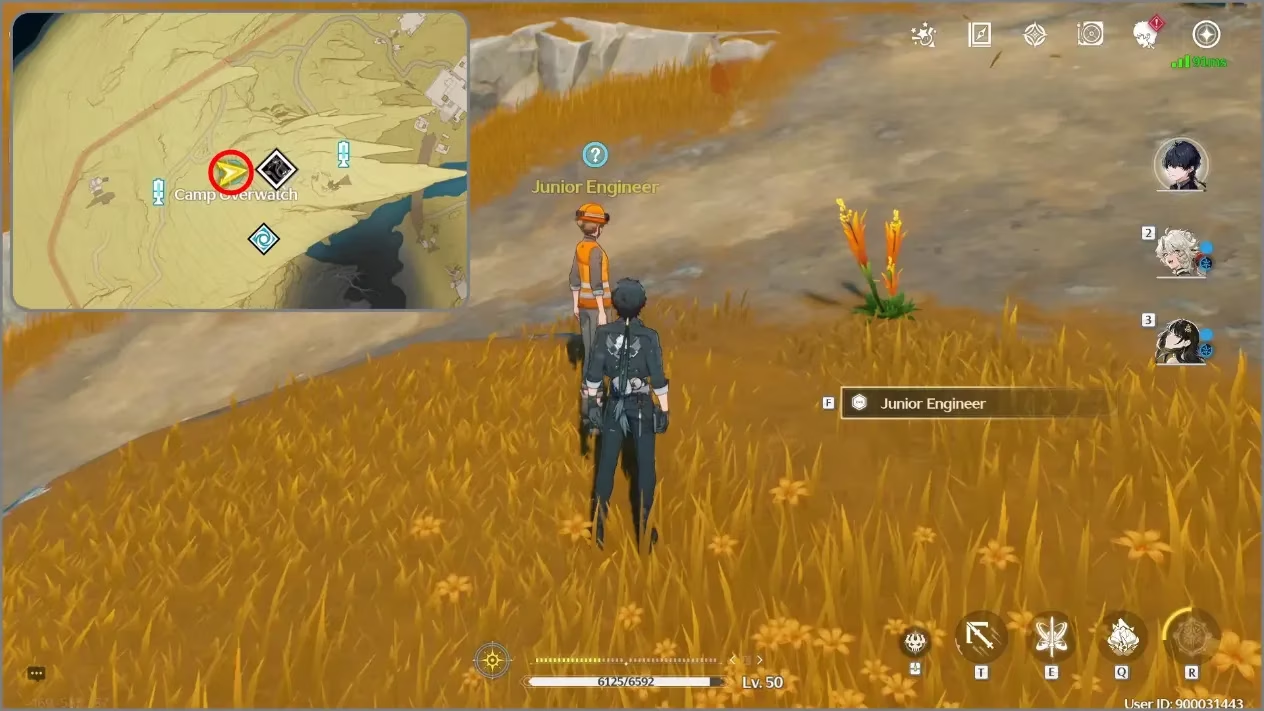
After you finish that quest, the Lost History quest will unlock automatically. Talk to the Historian in Jinzhou. He explains that four more lighthouses need repairing. There is no order, so you can do them in any sequence. I did them in the order below, but feel free to zigzag.
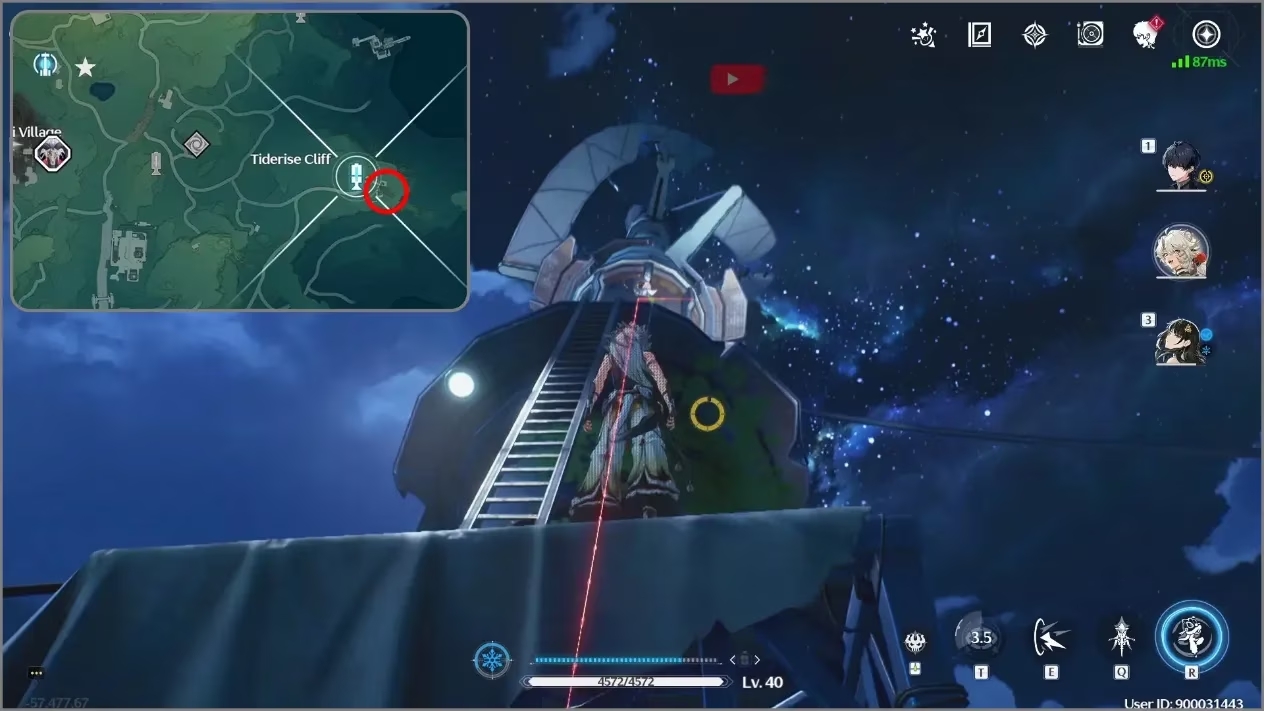
Lighthouse #2: Tiderise Cliff
Teleport to Tiderise Cliff. When you arrive, use the Sensor utility. You will see a red line flowing inside the lighthouse. Look around and solve the Induction Cell and Socket puzzles. There are only two of them, which is a nice mercy. After that, hack the terminal system to get another coordinate. The chest appears near the spot shown in the image. The red Sensor line was a shy ghost thread, and the puzzles were knots I had to untie with logic instead of fists.
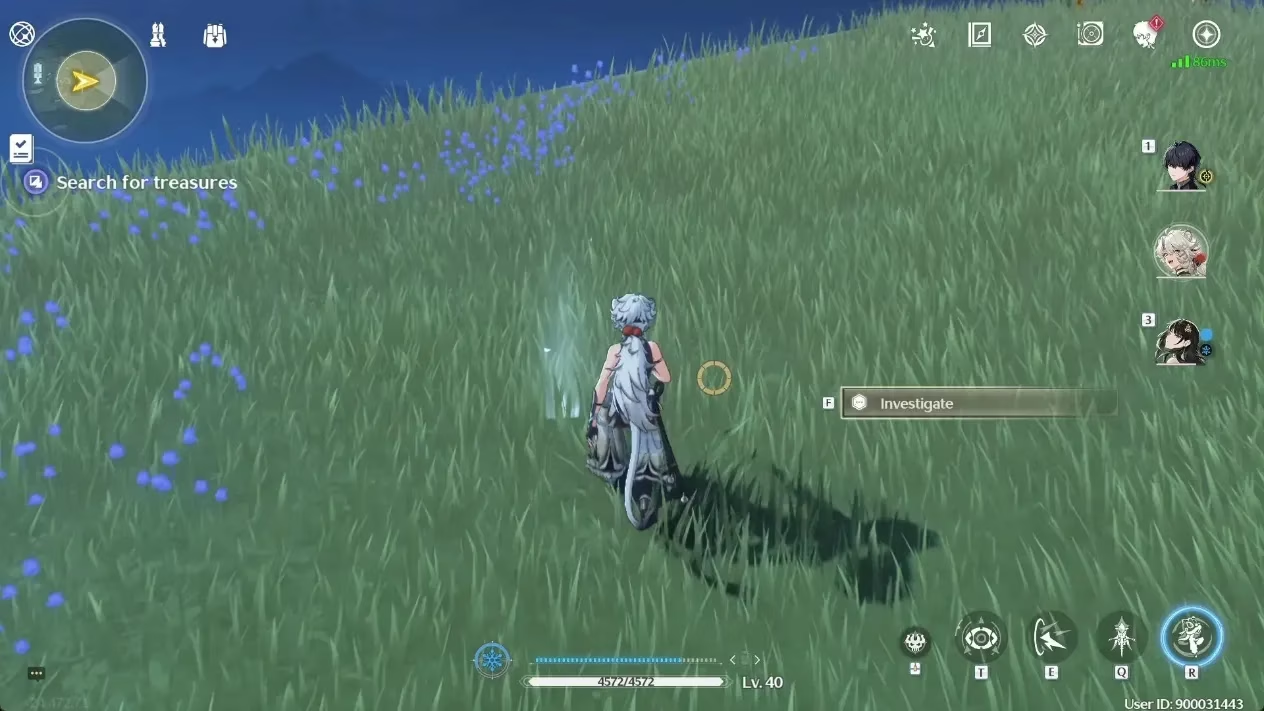
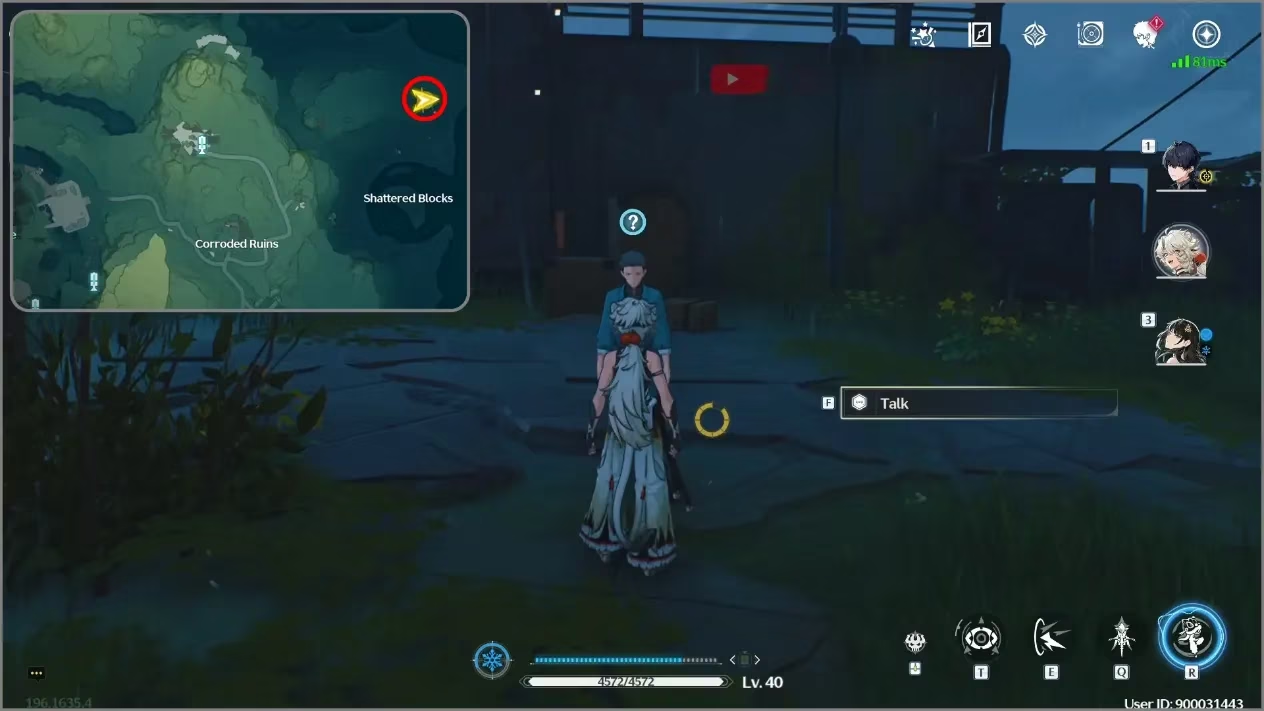
Lighthouse #3: Shattered Blocks and the Training Dummy Line
Teleport to Shattered Blocks and head north. You will find another lighthouse and trigger another 'Repair the Lighthouse' quest. Like before, look around and solve the Induction Cell and Socket puzzle. Then use the Sensor utility to reveal the red line. This time, you need to hit every Training Dummy along that line until it changes from red to blue. It is like playing whack-a-mole, except the moles are ancient tech and the hammer is your weapon. Once all dummies are blue, the lighthouse activates. Hack the terminal system and grab the chest. It is really close: just turn around and you will see it.
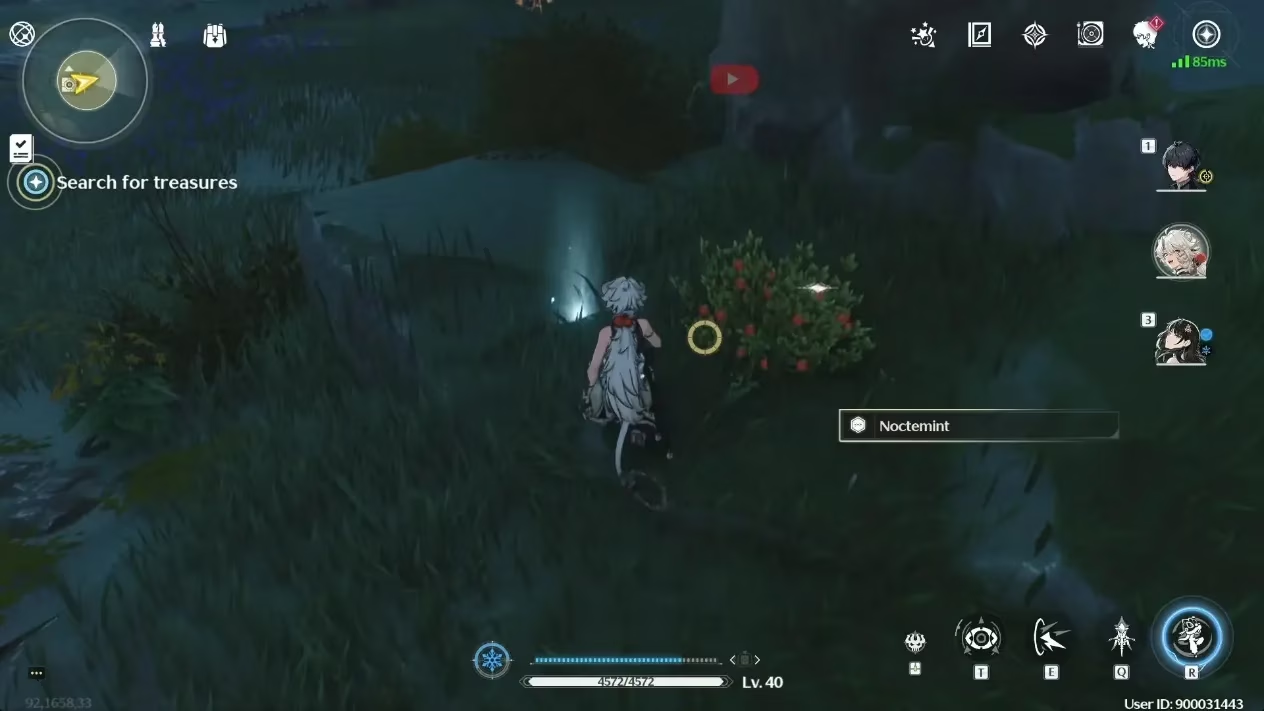
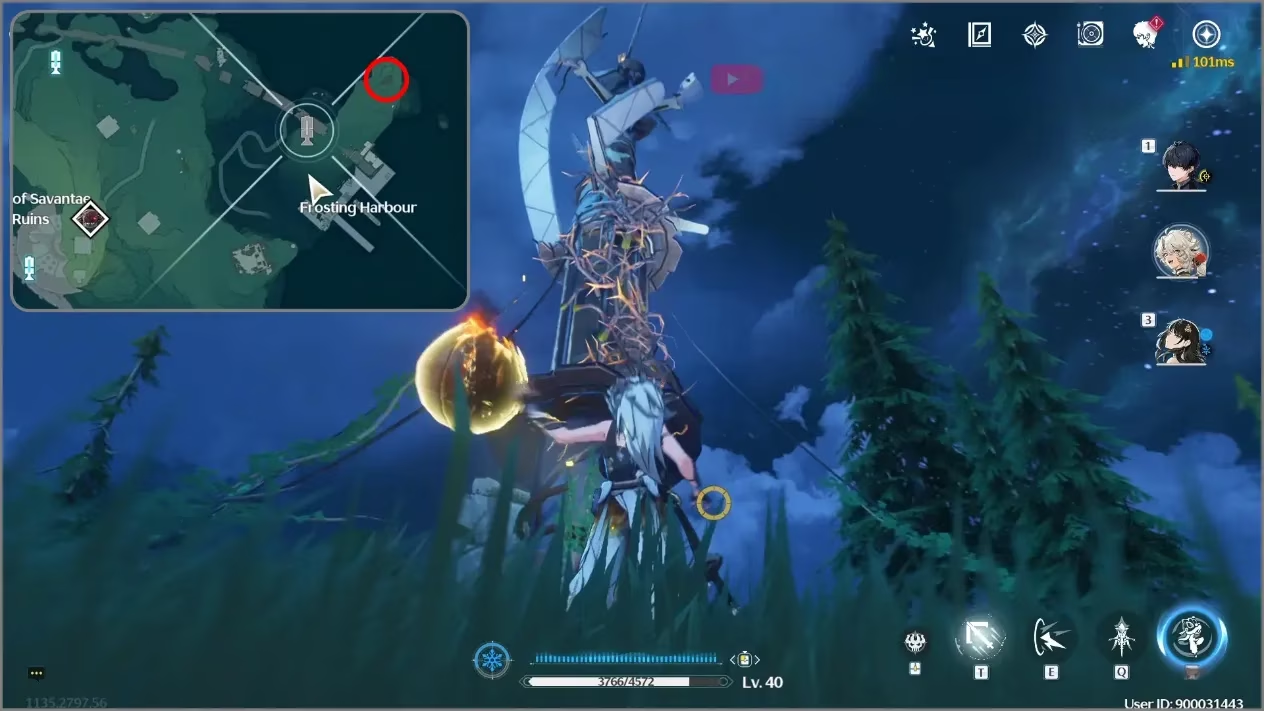
Lighthouse #4: Frosting Harbour and the Vine Oyster
Next, go to Frosting Harbour. The lighthouse building is trapped inside vines. Use Explosive Charge to burn all the vines so you can reach the top. The hidden treasure chest is farther away from the lighthouse than the others, but no big deal. Anything for a chest, right? The vine-covered lighthouse was like a stubborn oyster: I had to pry it open with explosives before I could find the pearl inside.
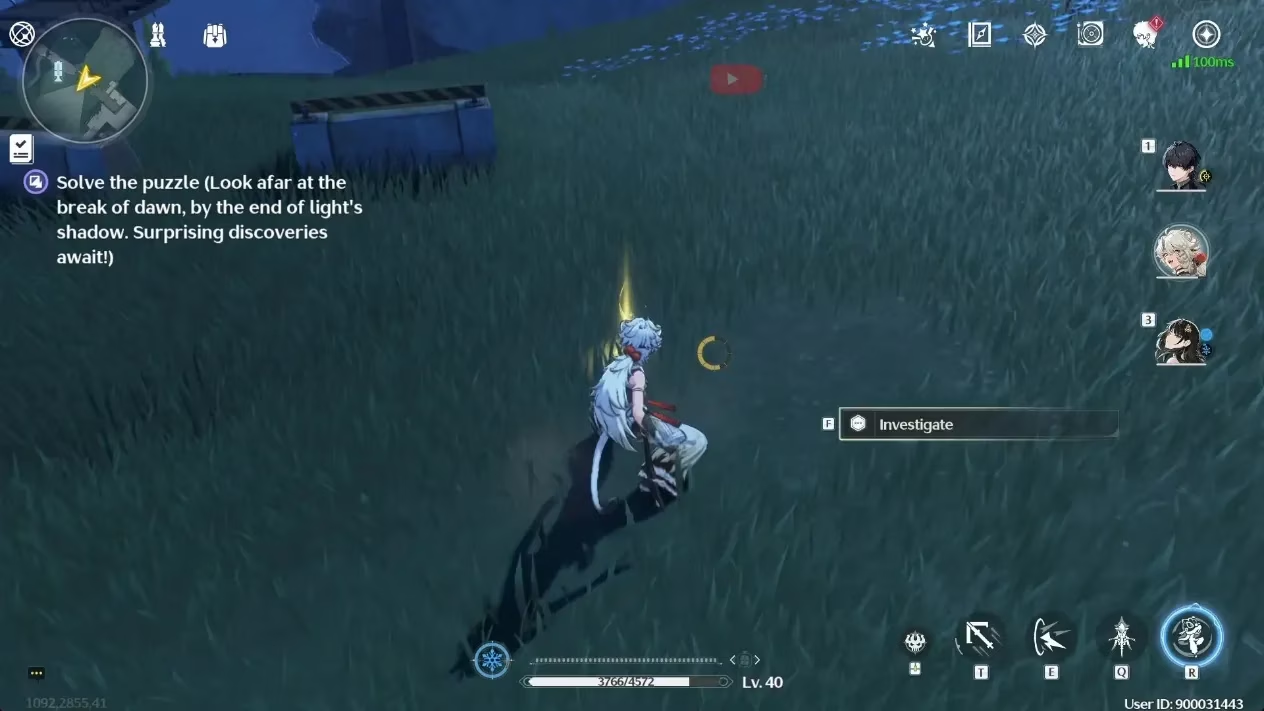
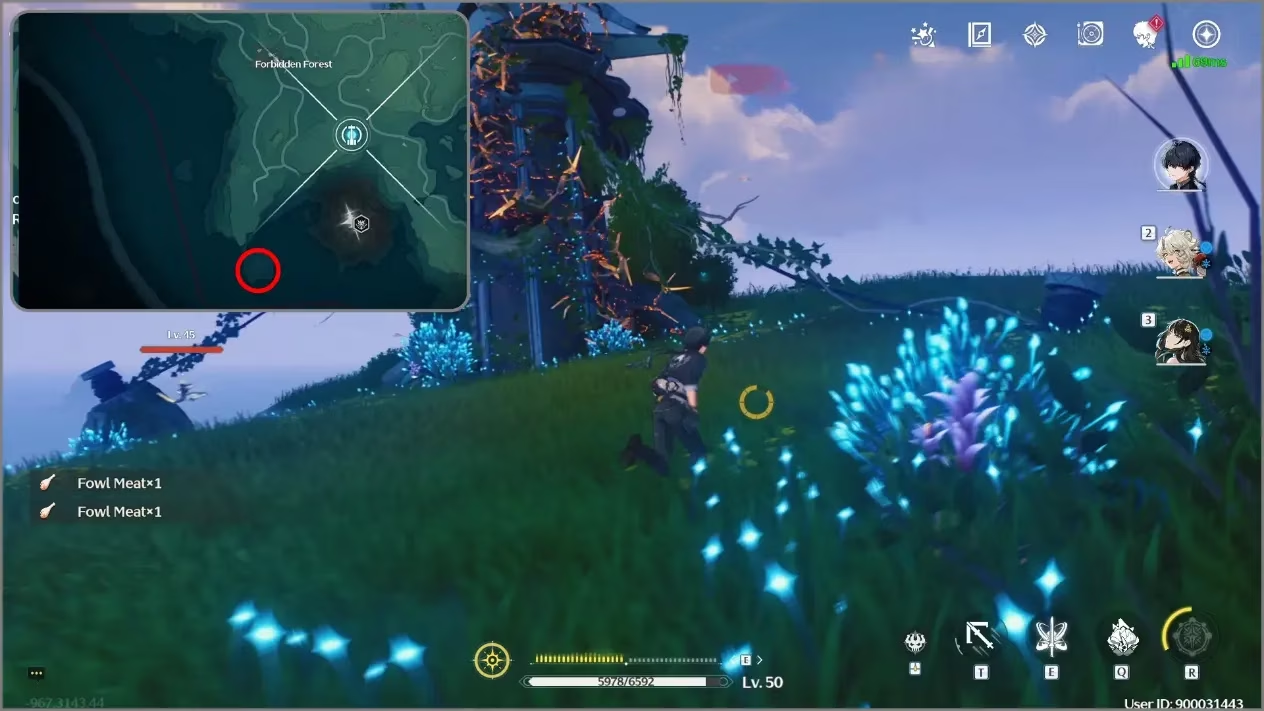
Lighthouse #5: Forbidden Forest at the Mountain Edge
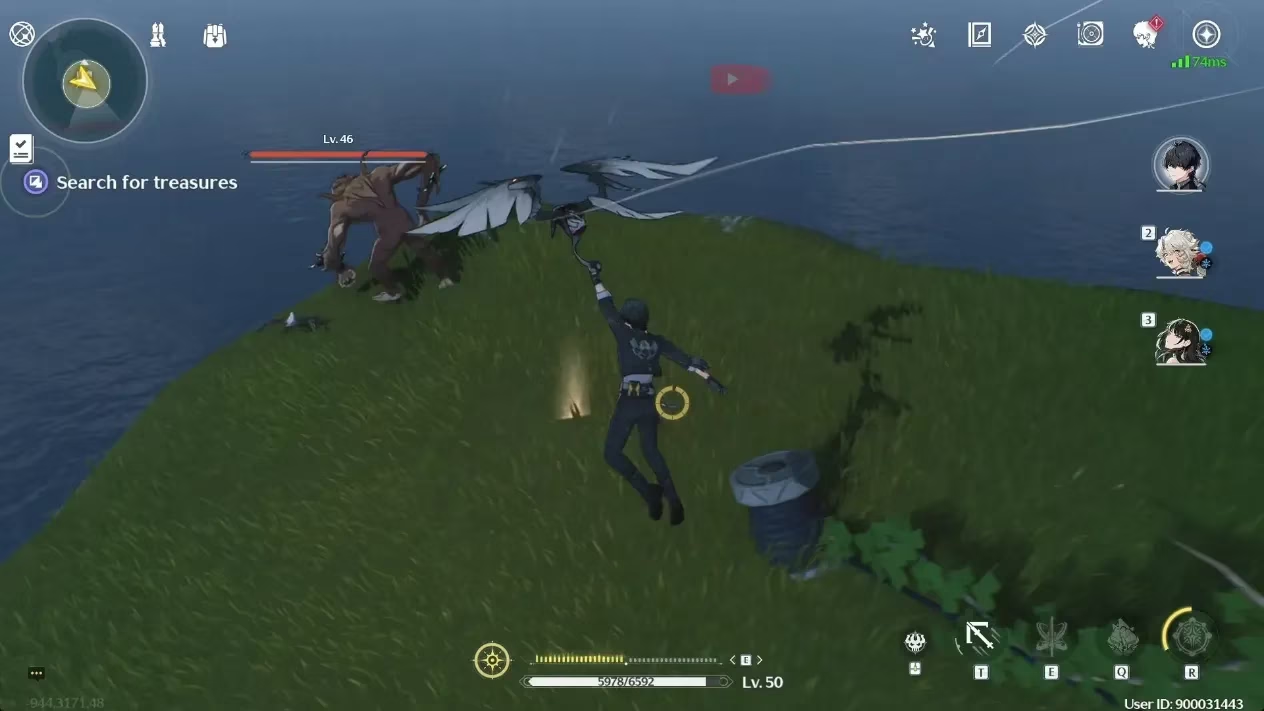
The last lighthouse is at the edge of the mountain in Forbidden Forest. This building is also wrapped in vines, so use Explosive Charge nearby again. After you clear the vines, complete the Signals Console puzzle to get the coordinate. Then look further along the mountain edge for an enemy. Near that enemy, you will see a shiny thing on the ground. That is your final hidden chest. I almost walked past it because I was busy admiring the view. Do not be like me.
Quick Reference Table
| # | Location | Puzzle / Obstacle | Chest Location |
|---|---|---|---|
| 1 | Desorock Highland, Camp Overwatch | Protect Junior Engineer, Signals Console | Beside Dewvetch; investigate ground |
| 2 | Tiderise Cliff | Sensor red line, Induction Cell and Socket x2, terminal | Coordinate from terminal |
| 3 | Shattered Blocks, north lighthouse | Induction Cell and Socket, hit Training Dummies to blue | Turn around near lighthouse |
| 4 | Frosting Harbour | Burn vines with Explosive Charge | Farther away from lighthouse |
| 5 | Forbidden Forest, mountain edge | Burn vines, Signals Console, enemy nearby | Shiny spot on ground near enemy |
Final Step: Meet the Historian Again
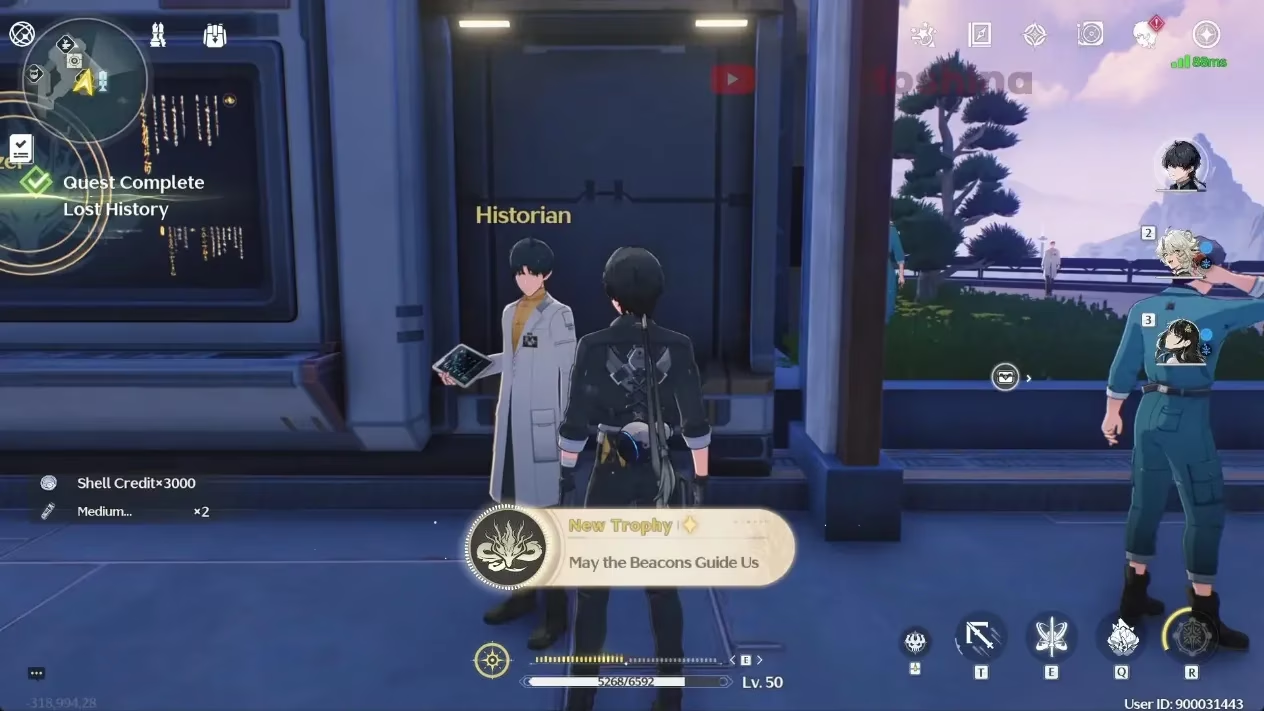
After all five lighthouses are repaired, the Historian will call you back. Meet up with him to complete the Lost History quest for real. You get the satisfaction of closing the questline and probably some rewards. I will not spoil the exact loot, but it feels good. If you are playing in 2026 and you have not done this chain yet, put it on your list. It is a chill mix of combat, puzzles, and exploration. Just remember: the Historian is about as helpful as a lighthouse keeper who only speaks in riddles while wearing a blindfold. 😄
According to coverage from Eurogamer, exploration-heavy quest chains tend to resonate most when they combine light guidance with tactile problem-solving—exactly what makes Wuthering Waves’ Lost History lighthouse run memorable in 2026: you’re decoding environmental breadcrumbs (Sensor traces, console signals, vine barriers) while still earning meaningful payoffs through hidden chest coordinates and micro-puzzles that reward curiosity rather than map markers.
Comments